

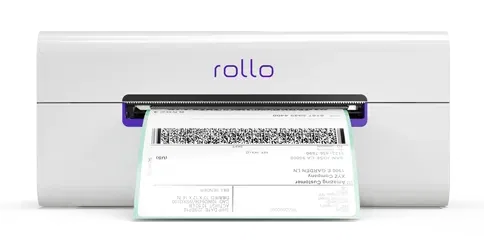
Many printers are available on the market, and Rollo printers are one of them. This printer has made its unique presence in the market, being highly efficient and versatile. These printers are available as LaserJet and InkJet printers. Beginners may find it a little difficult to set up their brand-new Rollo printers. This is why I will teach you How to setup Rollo printer on your computer.
I’m a printer expert who enjoys helping others with their technical troubles with printers. If you want to set up your printer, I am here to help. The setup process is not very complex and includes logging on to the Rollo printer’s official website to initiate it. Let’s find out what it takes to set up a new printer on your computer.
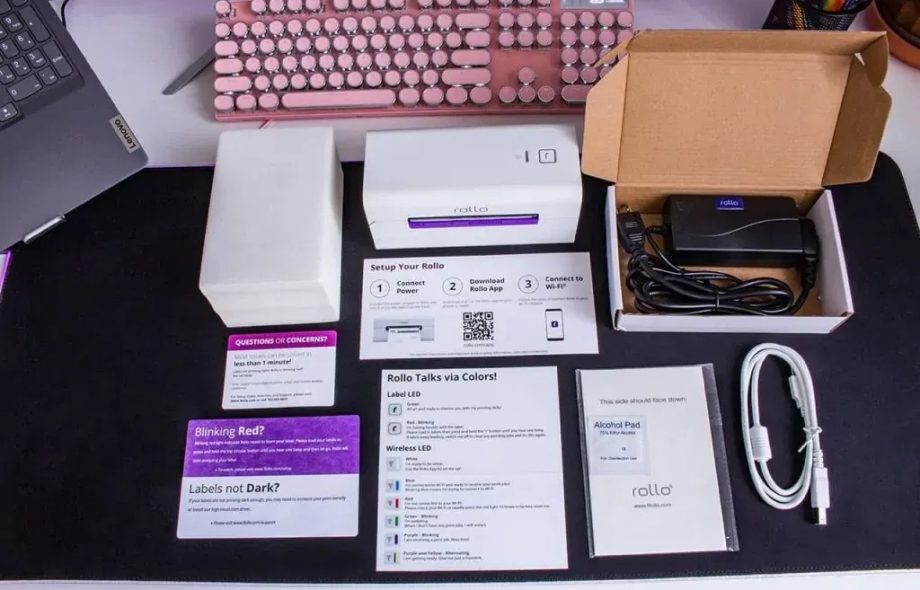
Unpacking Rollo Printer
Before starting to set up your printer, you must check what’s inside the box. You must unpack your printer to find all the necessary accessories, including the power cord, USB cable, and user manual. When you see that everything is available in the box, you’re ready to proceed with the setup process.
How to Set up Rollo Printer on Computer?
If you want to set up your printer on a desktop computer, you must check out these steps here and learn how to set up a printer on your computer.
For Windows
As a Windows user, you should know the process to set up your printer to it. Check the steps below and set it up:
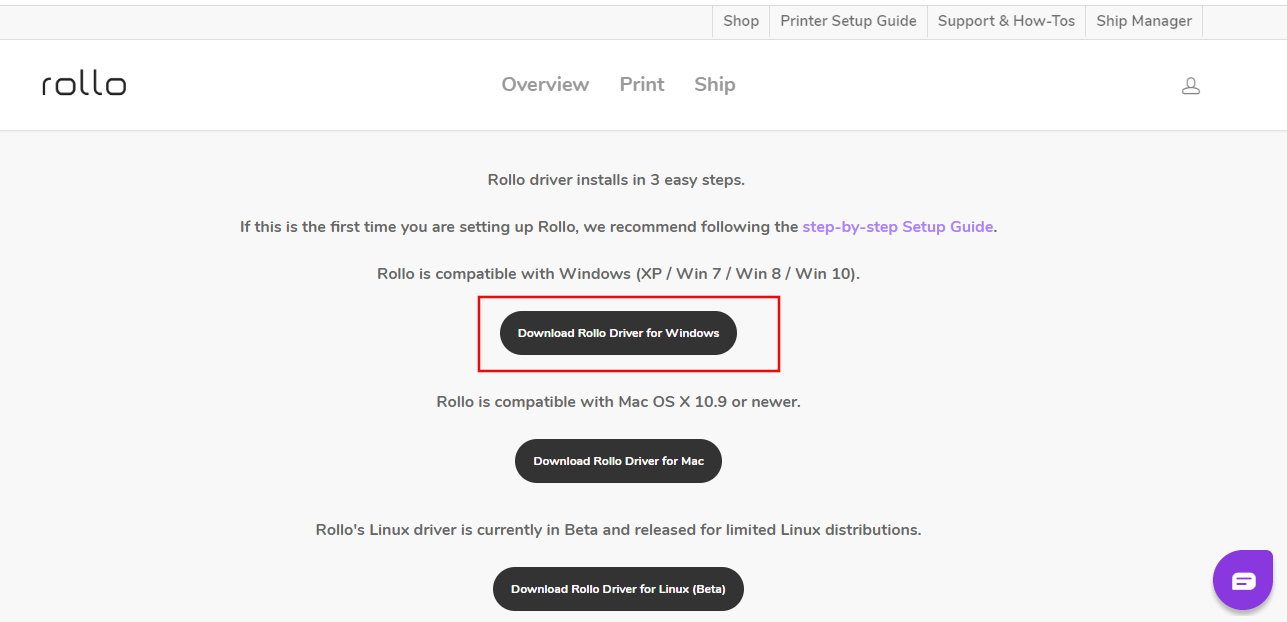
- On your Windows computer, visit Rollo’s official website.
- Then, download the driver software for the printer.
- When you download printer drivers completely, it will be saved under the Downloads folder.
- Visit that folder, double-click on the folder, and open it.
- On the following screen, let the installation run.
- After that, hit the Finish button and go to the Control Panel.
- Next, connect your Windows computer to the printer using USB or Wi-Fi.
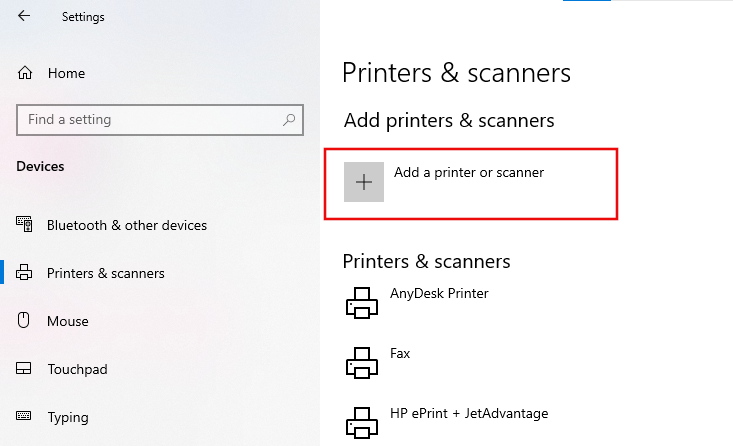
- Now, you will have to open the Devices and Printers section.
- Hit “Add a printer or scanner” and pick your printer from the pop-up list on the screen.
- When you add the printer, right-click on it and select Printing Preferences.
- On that page, hit the Advanced option on the lower right side of your Printing Preferences.
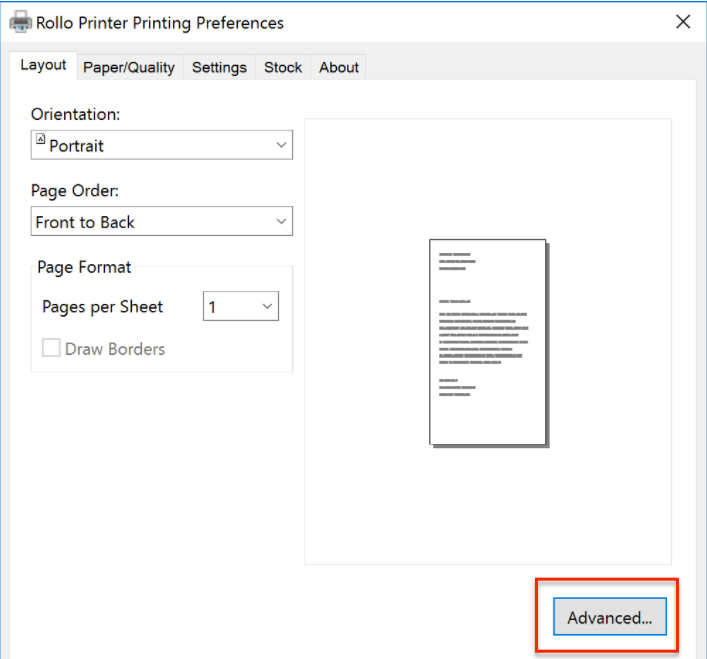
- Next, choose your paper size from the drop-down menu.
- At last, hit the OK option and get ready to print your labels.
This is how to set up Rollo printer on a Windows computer. Now, you can take a test print.
For Mac
On a Mac computer, the steps to set up a printer are slightly different from those on a Windows computer. Check the steps here:
- On your Mac, visit Rollo’s official website. www.rollo.com
- Then, search for printer drivers from the Support or Download section.
- When drivers are downloaded, they will be saved under the Downloads folder.
- After that, reach that folder and double-click on it to extract it.
- Open the printer drivers file and try to install it.
- Now, after completing the Rollo printer driver download, you should connect your Mac to the printer via USB or Wi-Fi.
- Moving forward, head to the Apple menu and then launch the System Preferences.
- Next, choose the Printers & Scanners option and then hit the Printers option.

- Now, select the Thermal Printer option under the Default option.
- You’ll see all the available devices; select your device from the drop-down menu.

- In the last step, select it and hit the OK button.
This is how to set up a Rollo printer on your Mac. Finally, you’re ready to take a print test from your printer.
Conclusion
Finally, you understand ‘how to set up the Rollo printer‘ on Windows and Mac computers. You can connect your printer to the computer via a USB or Wi-Fi connection. Rollo printers are the best choice for you. The good news is that you can connect these printers to any device for uninterrupted label printing. Also, they are free from inkjet and toner cartridges, so you will be free from the hassle of changing them. Hopefully, I was successful in assisting you with the printer setup.
Frequently Asked Questions (FAQs)
How to Connect Rollo Printer to iPhone?
To connect the printer to an iPhone smartphone, use these steps:- On your iPhone, go to the Google Play Store and navigate to the Rollo printer app.
- Then, hit the Get button to install the app.
- Now, open your app and create a new Rollo ID.
- After that, you will sign in to the app.
- Next, head to the Hamburger Menu in the app.
- Also, go to the Settings option.
- Finally, you can connect your printer to your iPhone via Bluetooth or USB.
Can I Set up My Rollo Printer via Wi-Fi?
Yes, you can connect your printer to a wireless connection such as Wi-Fi. However, there are three main methods—USB, Bluetooth, and Wi-Fi—for setting up a connection. If you have a printer that doesn’t have a wireless connection, you’ll have to rely on the USB connection.
What to Do if My Rollo Printer Is Not Working?
If you find that your printer is not working, there could be some issues with your printer. One thing can be that the label formatting you’re using is not correct. So, you must take care of the formatting. Plus, check if the connections are set up correctly. For instance, the USB or Wi-Fi connection you’re using should be set up correctly.
 :
https://www.pinterest.com/jamesparkerusa
:
https://www.pinterest.com/jamesparkerusa


